 Anmelden
DJI Osmo Pocket 4 review: The only vlogging camera you'll ever need
DJI’s Osmo Pocket 3 gimbal-camera was a category-defining camera. Two years since its launch, everyone from vloggers to pro film makers continue to upload how-to guides and gushing reviews to YouTube. When the Osmo Pocket 4 landed at the FCC at the end of 2025 (followed by a credible leak), creator forums and Reddit threads started to chatter with excitement. Over the following months the Pocket 4 leaked again and again, to the point where there’s very little that someone with a passing interest and an internet connection doesn’t already know about the camera. But DJI chose today to give us the official reveal, so we’re here with the full review which, remarkably, does contain some surprises.
What’s new
For those who were waiting for official, confirmed specs and information, here’s a rundown of the headline new features of the Osmo Pocket 4. The camera is still 4K, but comes with an updated 1-inch CMOS sensor that DJI says is good for another two stops of low light performance (for a total of 14). The camera retains the 20mm equivalent, f/2.0 lens but squeezes in an improved max framerate of 240 fps (up from 120 fps) for up to 10x slow-mo. The Pocket 4 can also shoot in full, high dynamic range 10-Bit D-Log, upgraded from the more lightweight D-Log-M available on the Pocket 3. Shutter speeds are now expanded and go right down to 1/4 for extreme light effects.
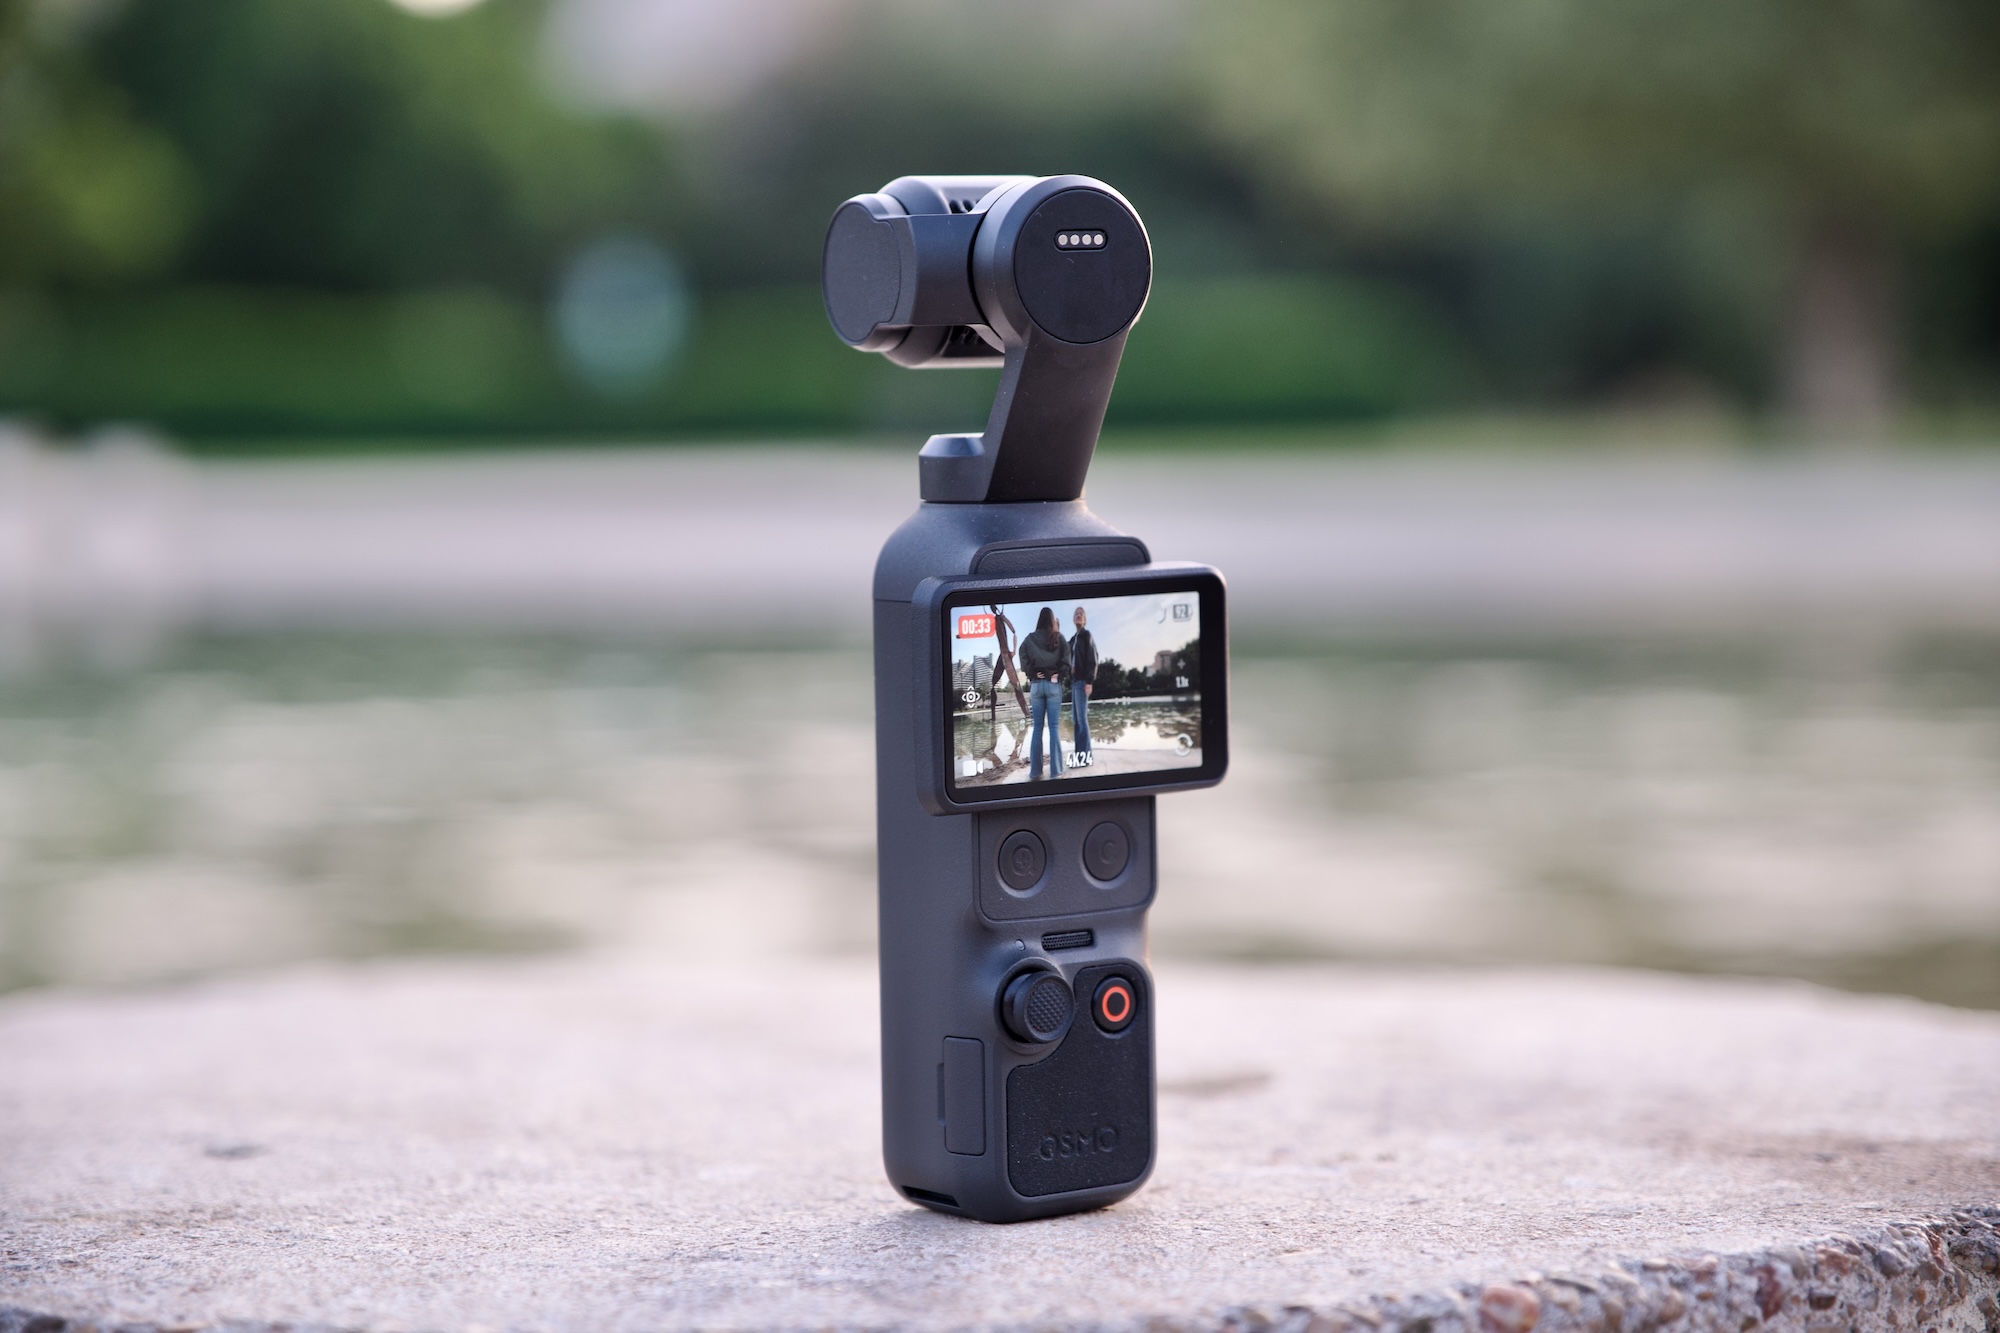
Hardware changes are few, but do include two new buttons below the 2-inch display. One is a dedicated zoom button and the other you can assign a function from a selection of common tasks — rotating the gimbal, toggling recording presets and so on. You can assign up to three different controls to this button via single, double and triple clicks. There’s also 107GB of internal storage. You can still use SD cards, but you don’t need to if you don’t want to.
That zoom, DJI states, is good for 2x “lossless” zoom while shooting in 4K and 4x in 1080p. The Pocket 3’s 2x Mid-Tele zoom had to be activated first, but now you can use lossless zoom any time and/or while using ActiveTrack face-tracking. It’s available in Portrait mode, too, but if you’ll need to have the screen in the horizontal position to access the buttons, which means your viewfinder/preview will be teeny-tiny as it’s rescaled for 16:9.
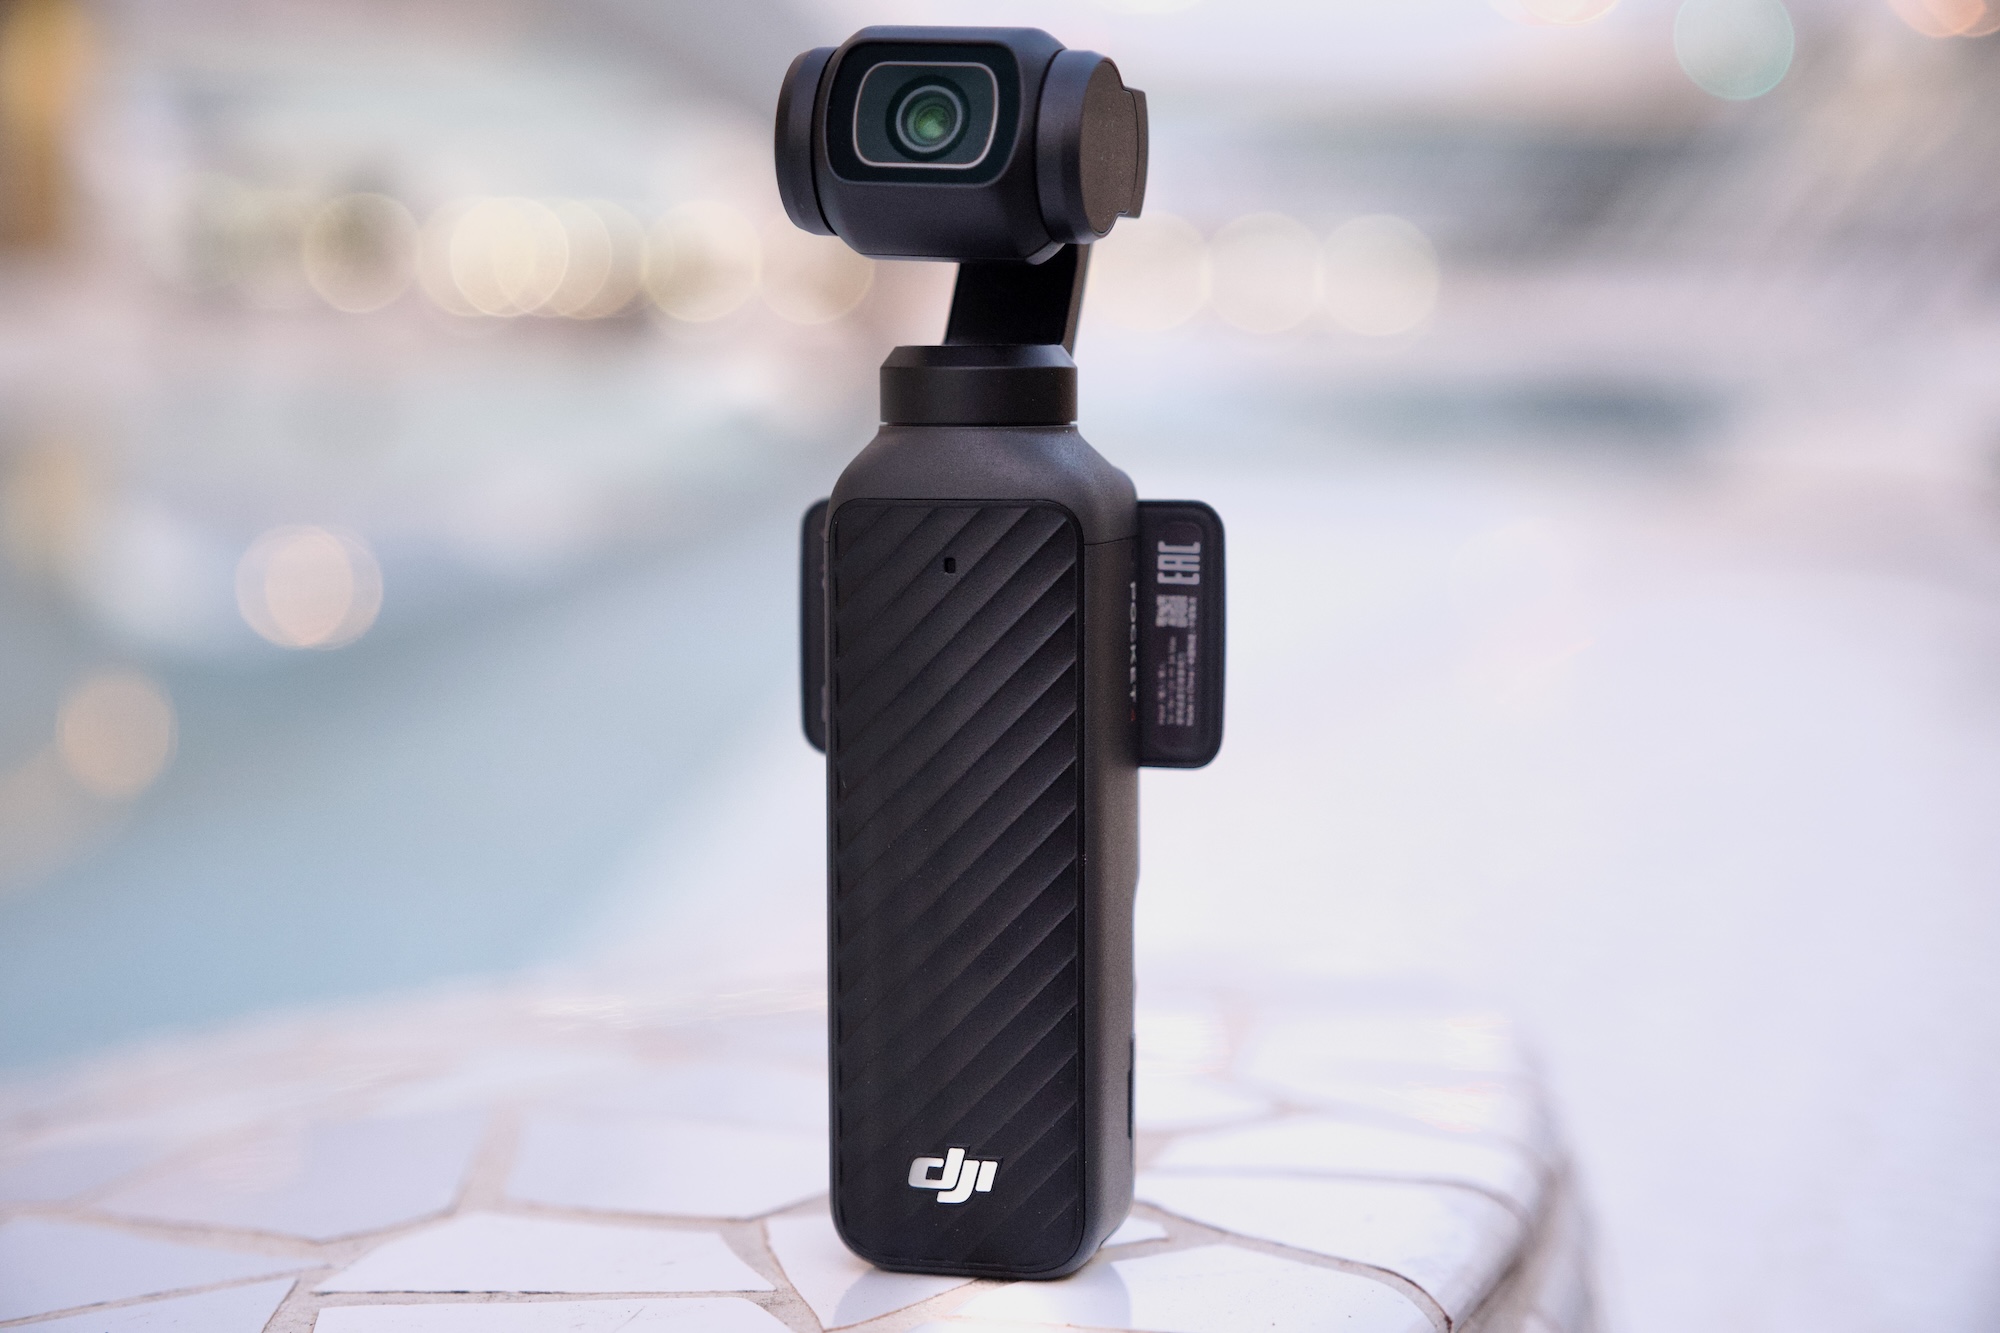
DJI has added on-camera “Film Tones” which are similar, functionally, to film simulations seen on Fujifilm cameras. There are six to choose from at launch and include subtle and not-so-subtle stylized color tones that apply different “moods” to your videos without having to manually color grade or use a LUT after the fact. As for still images, there’s an on-screen button for “Live” photos similar to what you might find on an iPhone. Live photos were sorta-kinda possible on the Pocket 3, but they are a little bit easier this time around.
A lot of DJI drones include Gesture Control, which lets you start/stop recording and engage ActiveTrack from a distance, and that’s new on the Pocket 4 too.
On the audio side of things, the Pocket 4 now has “audio zoom,” so if you have two people in a scene and do a close up on one of them, the volume of their voices will be boosted. It’s a little crude, but it could be handy in certain situations. The Pocket 4 can also record spatial audio via the three onboard microphones, good for live music and other situations where sound placement might matter.
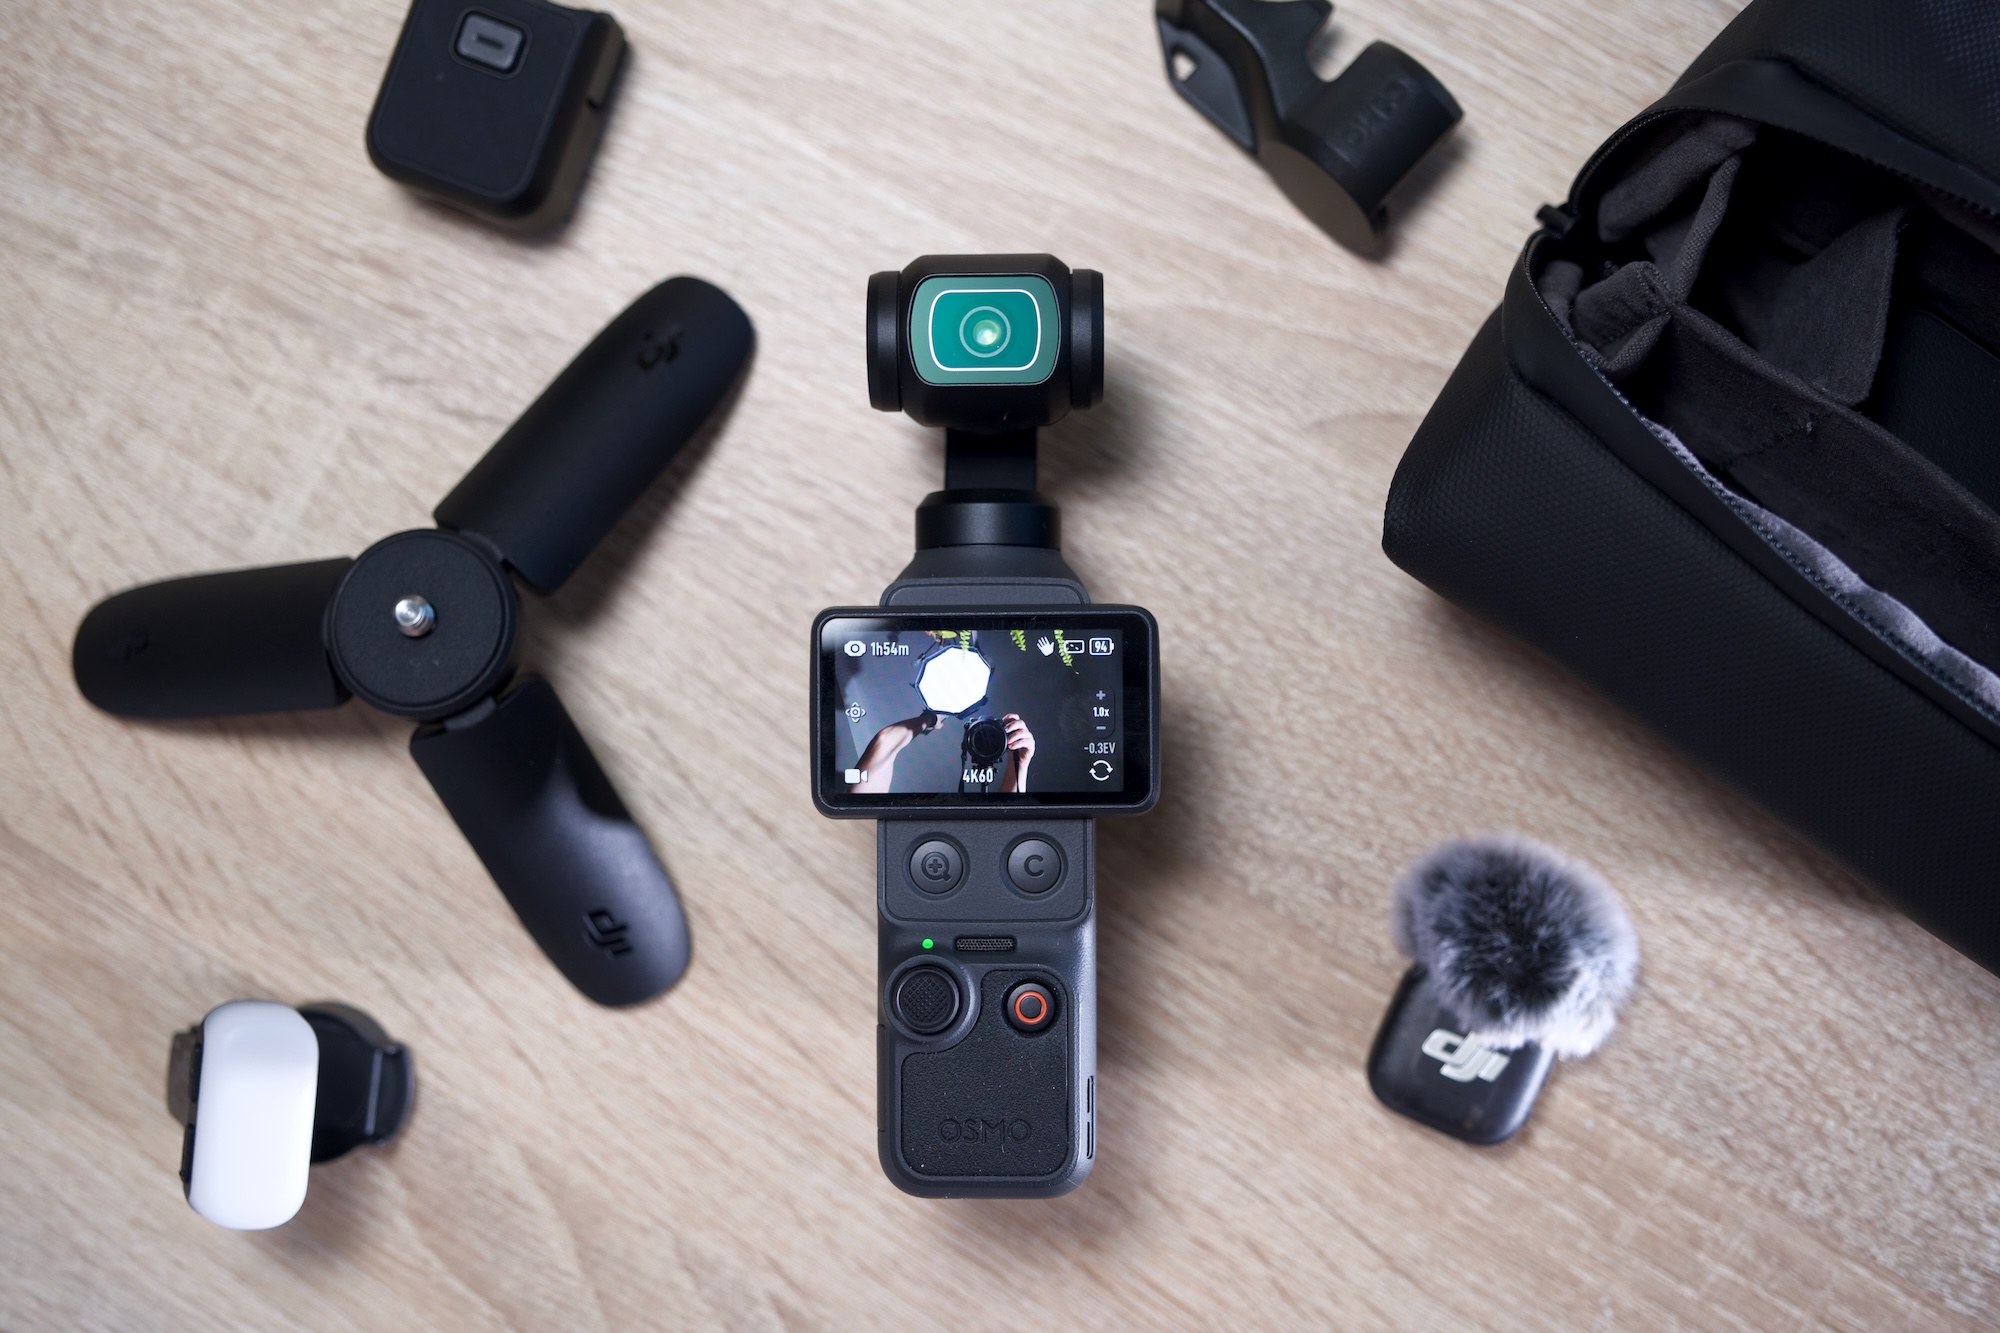
Lastly, the Pocket 4 has a modular component. At launch, there’s a magnetic fill light that clips onto the gimbal and can be configured via the camera menus. It’s included in the creator combo and opens the door for other modular accessories, though it’s limited to things that can sit on the gimbal without causing problems. A shotgun-style microphone, for example, could be possible.
Battery life also gets a slight boost over the Pocket 3 with a 1,545mAh cell — which is almost a 20 percent increase. That translates to an extra 30 minutes or so of recording time for an average of two and a half hours at 4K, more if you shoot in lower resolutions or are using the camera for photos.
What we don’t see here, an item that you might have been hoping for, is any type of optical zoom. What’s more, the max resolution in vertical mode remains capped at 3K. You still have to rotate the camera if you want full-sensor, 4K video in portrait.
Video quality
The popularity of the Pocket series is thanks to its combination of high-quality video and a portable form factor. The Pocket 4 builds on this winning formula with exceptional quality for the camera’s size. The new 1-inch sensor is noticeably more detailed than the Pocket 3 and DJI’s claim of improved low light performance is backed up by stellar results. I took the Pocket 4 out at night and it bested its predecessor with far more dynamic range and better exposure in shadowed areas that come out dark or fuzzy on the Pocket 3.
Image performance in general is impressive and a definite strong point for a camera of this size. Colors now look more natural than ever without looking over-saturated. Similar shots on the Pocket 3 look a little flatter when viewed side by side. I like that the f2.0 aperture still provides some light bokeh, and when combined with the new D-Log mode, there’s plenty of scope for cinematic shots. These would be harder to achieve with a phone and don’t require the setup and planning of a mirrorless camera.
With the extended shutter speeds you can get some interesting effects — dramatic light trails in traffic for example — but it’s going to over expose any other light source in your shot. So, proceed with caution. The Pocket 3 bottomed-out at 1/25, but the Pocket 4 goes right down to a dramatic 1/4.
The 2x lossless zoom surprised me. At first, I was sceptical about DJI’s claims of it being lossless, but it does seem to maintain visual quality without noticeable loss of detail. Though if you want to use that 4x zoom in 4K, expect to see some digital artifacts. The Pocket 4’s 20mm lens is particularly suited to wider, vlog-style shots, so a usable zoom is a welcome addition. It’s worth noting that it’s better used for static and tripod shots as any gimbal movements and keeping a subject in frame can feel like steering a ship.
Film tones
Until now, if you were aiming for a more cinematic style, you had to get comfortable shooting in D-Log-M and boning up on color-grading. DJI provided some filters in the Mimo app for a quick and dirty way to add a mood or vibe to your videos, but that still caused some friction in the workflow. The new film modes are on camera, so achieving something more stylized is now just a menu tap away. I’ll be honest, I’m not a huge fan of the selection available right now as they’re either too hot or too cold. Of the six, Warm and Movie seem the most usable for cozy-style landscapes or B-roll cityscapes.
DJI hasn’t shared much about whether these are just on-camera filters or true film simulations. Movie and Retro, at least, were already available as filters in the app. If the full effect is too strong, you can dial down the intensity, but that’s the extent of the control. Their addition here expands what you can get out of the camera without using the app or having to drag things over to your editing software. It’s unclear if we’ll see more options in the future, but they’re there if you need them.
New buttons
One of my main complaints with the Pocket cameras was the zoom. More specifically, controlling it with the joystick. It always looks slow, inconsistent and a bit amateur when zooming in manually. The new button provides an instant punch-in that can be used for an intentional, attention-drawing effect. I can’t count the number of times I’ve ruined a shot because I thought I had the joystick set to zoom, but it was still assigned to panning (you had to toggle its use via an on-screen button). With the physical button, I can close in on a target instantly and never worry about accidental pans.
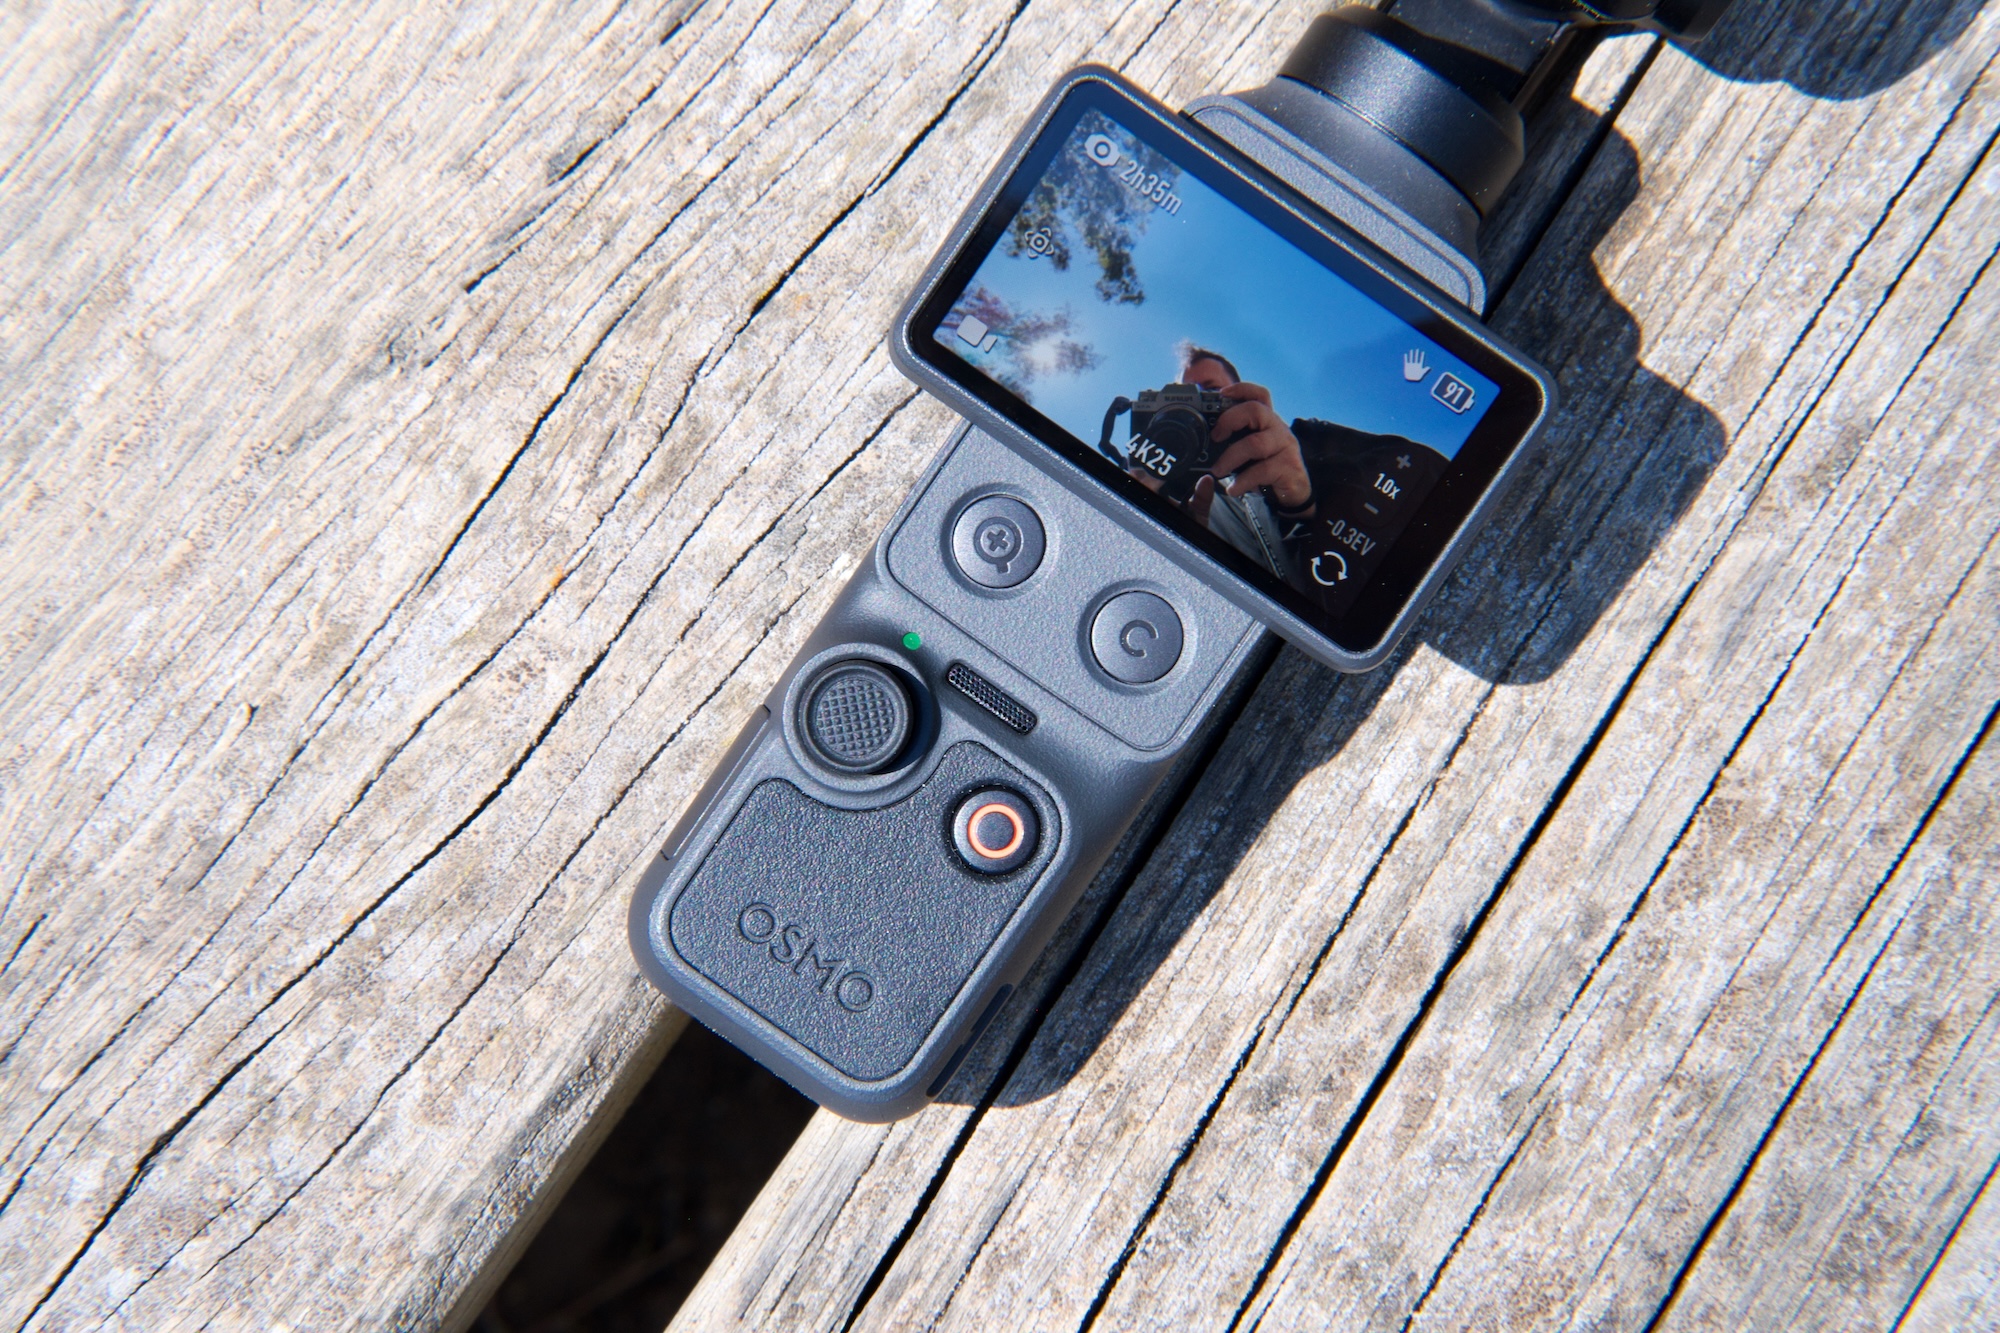
The second, customizable button is also a real usability upgrade. If, like me, you’re constantly recentering the gimbal, you’ll know that the usual double-click on the joystick is often unreliable. Now you can assign that action to the button plus two more controls from a selection of common actions. I have it set so double-click switches to one of my manual recording presets and triple-click locks the gimbal so I no longer have to jump into the main menu to switch gimbal modes. It even works while recording if I spontaneously decide I want to keep my horizon level.
Changing what this button does is simple: Long-press it and it’ll jump into the settings where you can choose its functionality. There’s still scope for some refinement, as although a double click can instantly start recording with my preferred settings, clicking again doesn’t stop it. You have to use the record button. This makes some sense, but I’m used to using the same button to stop/start recording, so intuitively I thought that might be the case here. Sadly not.
Audio upgrades
Something a little unexpected in the Pocket 4 is the addition of spatial audio. Using the three built-in microphones, the theory is you should be able to hear where sounds are coming from — though you’ll need headphones on for the effect to work. In practice, it does create a different audio ambience, one where sounds feel more relative to their location, but it comes at a price. If you speak to the camera, even if you’re nearby, your voice will sound distant and muddled so spatial audio is something you’ll want to use intentionally and certainly not as a default setting.
The same is true for that audio “zoom.” To be fair to DJI, I’ve never found an audio zoom I truly liked. You can’t capture better audio than what the microphone is receiving, so amplifying it in any way isn’t going to improve it beyond what you can do with editing software. In a pinch, this might help with interviews when you have multiple speakers, no external microphone and need to publish quickly, but I’m reluctant to recommend it for anything else.
The new “Vocal Boost” is a more useful option under the Pro settings menu. When activated, it enhances voices by lowering background noise and other sounds. Again, it’s not a fix for getting good source audio, but in noisy run-and-gun vlogging environments, it can improve your chances of capturing something useful with just the internal microphones.
Fortunately, DJI has a much better solution that was already a feature of Pocket cameras — native connectivity with its wireless microphones. The Creator Combo now includes a single DJI Mic 3 transmitter and charging cable, and it’s the absolute best way to get YouTube-ready audio from the camera. One nice tweak with the Pocket 4 is that you can now export videos with both the built-in and external mic audio as one 4-channel file. Open this in your video editor and you can mix and cut between mic and ambient audio without having to deal with separate files as before.
The competition
The fact that there’s no real direct competition for the Pocket series is surprising. For true, like-for-like gimbal cameras, expect to find alternatives from brands you’re less familiar with — such as Agfaphoto or Feiyu. Most of the nearest competition will be action cameras like the GoPro Mission 1 or Insta360 Ace Pro 2. Both of these are great portable cameras with solid stabilisation, but they unsurprisingly favor that wide, bright and sharp action-style footage. The Pocket 4’s nearest rival for stabilized vlog-friendly filming is still the Pocket 3.
This raises the question of whether the Pocket 4 (£445) is worth it over the more affordable Pocket 3 (£389) at launch. (DJI can’t directly sell the Pocket 4 in the US, so official prices are in British Pounds or Euros.) Both are great, all-purpose, vlogging cameras versatile enough for recording in a variety of situations — though less suited to rugged/action filming thanks to the delicate mechanical gimbal. It’s likely that the price difference between the two will expand after the launch window.
Wrap-up
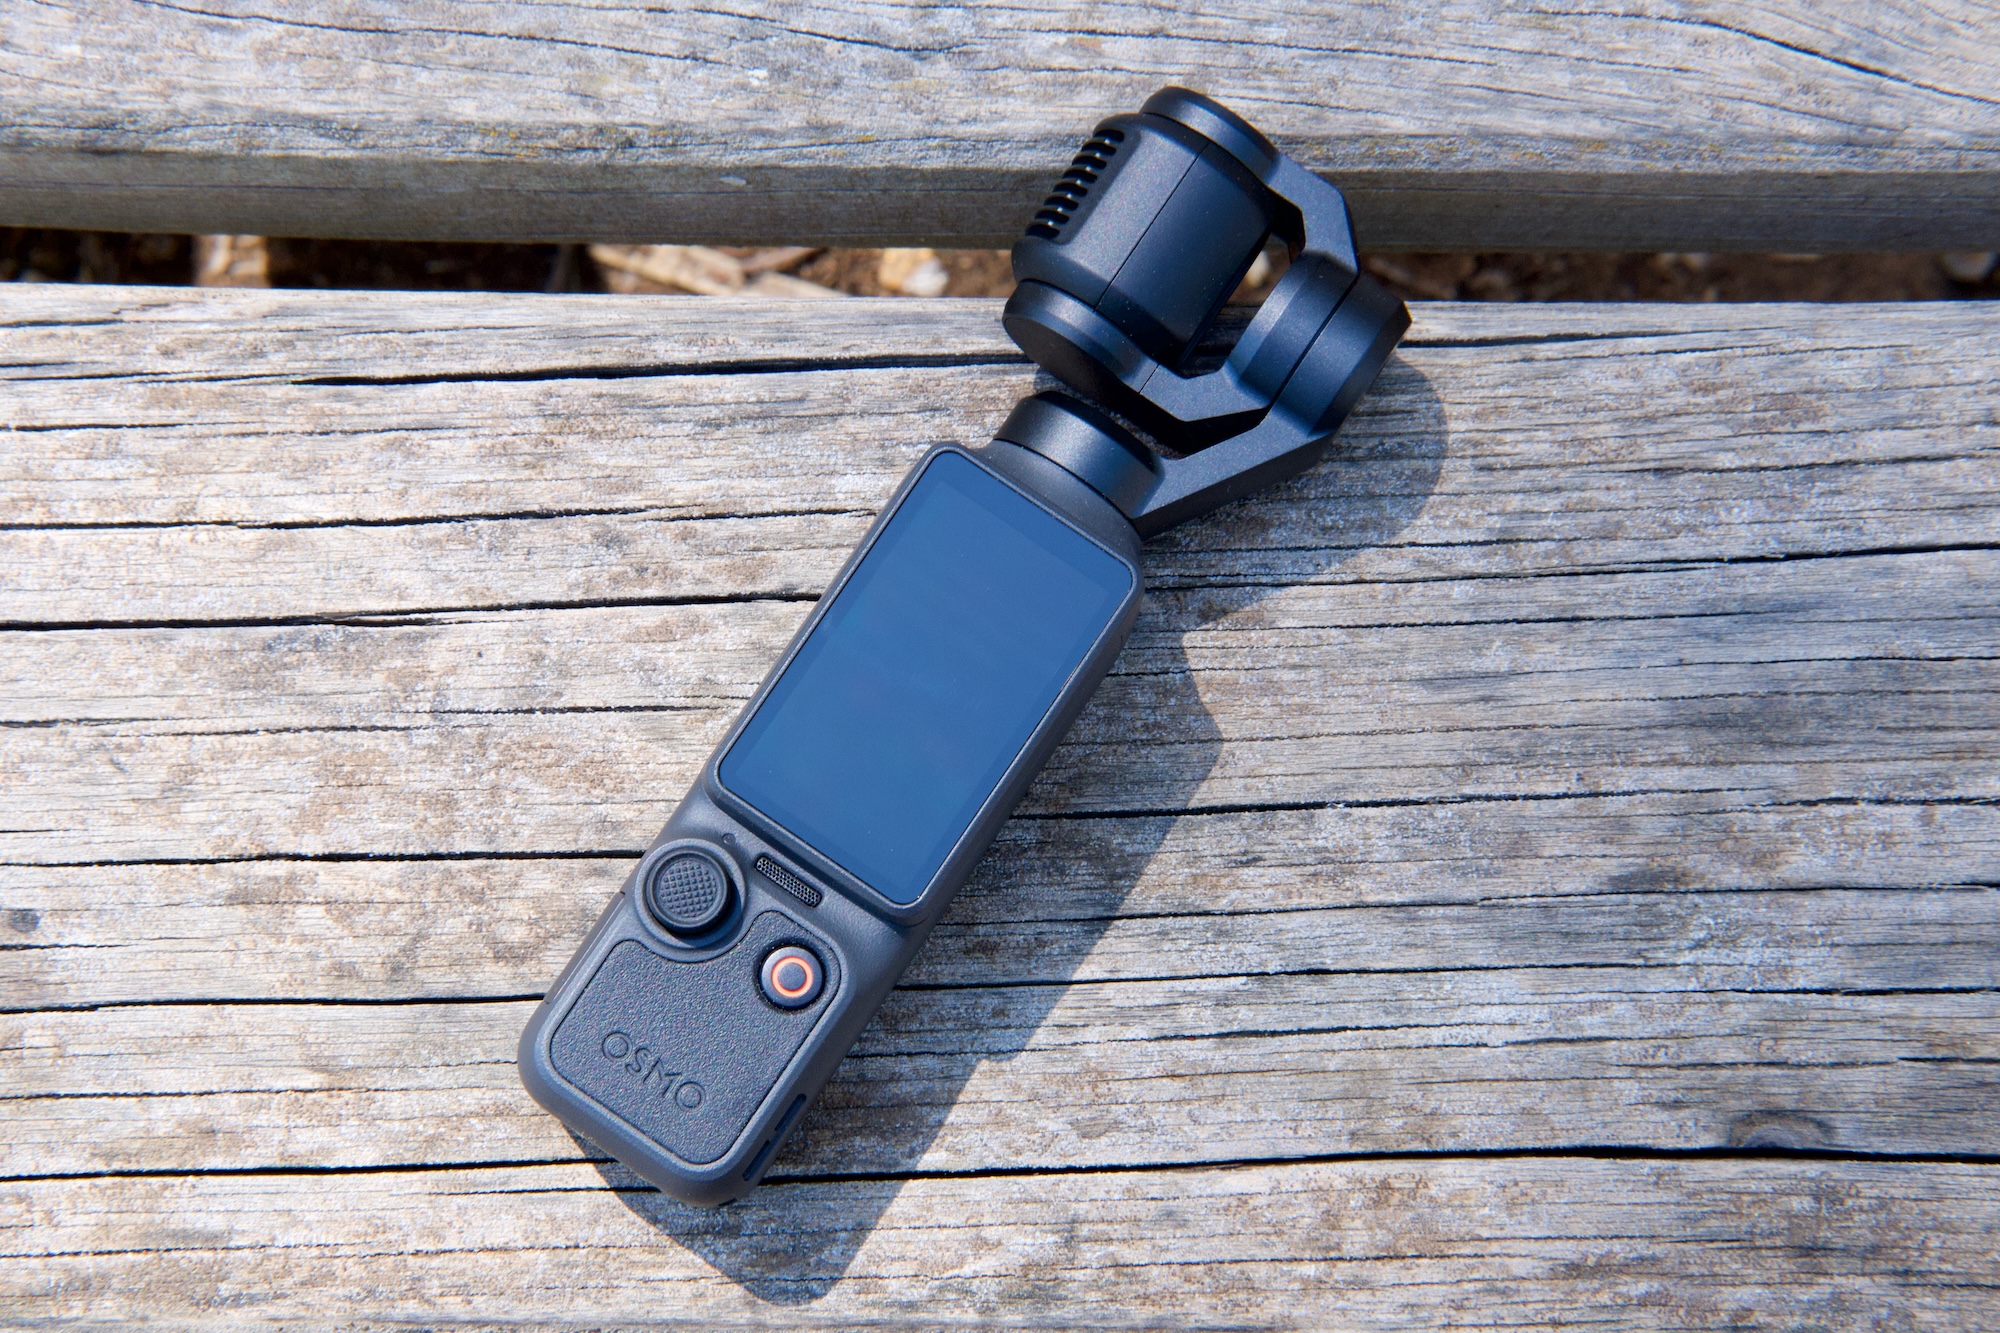
The Pocket 4 might not bring defining new features like optical zoom or higher resolution, but it’s a better camera in every way that matters. There are also several quality of life improvements that make it incredibly compelling. For the extra money, you’re getting better image quality that will pay you back over time. The new buttons make the camera even more convenient and that onboard storage alone effectively closes the price gap — not to mention the huge convenience that feature alone brings with it.
Hardcore fans might have been hoping for more “dazzle” with the Pocket 4. In reality, DJI delivered a camera that builds on an already winning formula in ways that actually matter: higher quality video, improved usability, modular capabilities and longer battery life. It’s hard to argue with that.
This article originally appeared on Engadget at https://www.engadget.com/cameras/dji-osmo-pocket-4-review-the-only-vlogging-camera-youll-ever-need-120000374.html?src=rss
©