 Anmelden

How to set up an AirTag
Apple’s AirTag makes it easy to keep tabs on everyday items like keys, bags and luggage using the Find My network. Setup is quick, requires no tools and takes just a minute or two as long as you have a compatible iPhone or iPad. Once paired, your AirTag quietly works in the background to help you locate misplaced belongings. This guide walks through how to set up an AirTag, how to name it so you can easily identify what it’s attached to and what to do if setup doesn’t go as planned.
What you need before setting up an AirTag
Before you begin, make sure you have the following:
An iPhone or iPad signed in to your Apple Account
Bluetooth enabled on that device
Location Services enabled
iOS or iPadOS 14.5 or later (AirTag 2nd generation requires iOS or iPadOS 26.2.1 or later)
A stable Wi-Fi or cellular connection
You’ll also want to ensure iCloud Keychain is enabled and that your Apple Account setup is fully completed in Settings.
How to set up an AirTag using your iPhone or iPad
The easiest way to set up an AirTag is directly through the on-screen setup prompt.
Remove the plastic tab from your AirTag to activate the battery.
Hold the AirTag near your unlocked iPhone or iPad.
When the setup animation appears, tap Connect.
Choose a category for your AirTag, such as Keys, Backpack or Luggage. If you select Custom Name, you can type your own label and choose an emoji.
Tap Continue to link the AirTag to your Apple Account.
Tap Done to finish setup.
Once completed, the AirTag will appear under the Items tab in the Find My app. If you’re setting up multiple AirTags, make sure only one is near your device at a time. If more than one is detected, a notification will appear saying “More than one AirTag detected”. If this happens, move the others farther away and try again.
How to add an AirTag using the Find My app
If the setup animation doesn’t appear automatically, you can add an AirTag manually through Find My.
Open the Find My app on your iPhone or iPad.
Tap the Items tab.
Tap the Add button.
Select Add AirTag or Other Item (if you’re adding a compatible FindMy Network accessory).
Follow the on-screen instructions to complete setup.
You can add up to 32 items in Find My, including AirTags, shared items and compatible accessories. If you’ve reached the limit, you’ll need to remove an item before adding a new one.
What to do if your AirTag won’t connect
If setup fails or the pairing animation disappears, try the following steps:
Lock your iPhone or iPad, unlock it again and wait about 15 seconds for the animation to reappear.
Make sure Bluetooth and Location Services are turned on in Settings.
Check that Find My has permission to use Precise Location.
Ensure you’re signed in to your Apple Account and iCloud Keychain is enabled.
Verify your device is running the latest version of iOS or iPadOS (iOS or iPadOS 26.2.1 or later).
If the AirTag still won’t connect, the battery may need replacing. AirTags use a standard CR2032 coin cell battery, and swapping it only takes a minute. If issues persist after replacing the battery, you may need to reset the AirTag and try setup again.
How to name and label your AirTag
Naming your AirTag makes it much easier to identify when you’re tracking multiple items. During setup, Apple offers preset labels like Keys or Backpack, but you can customize these at any time.
To rename an AirTag after setup:
Open the Find My app.
Tap Items and select your AirTag.
Tap Add Name or Rename Item.
Choose a preset label or select Custom Name.
Optionally add an emoji for quick visual identification.
Clear labels are especially helpful if you use AirTags for travel, work gear or shared household items.
Attaching your AirTag to everyday items
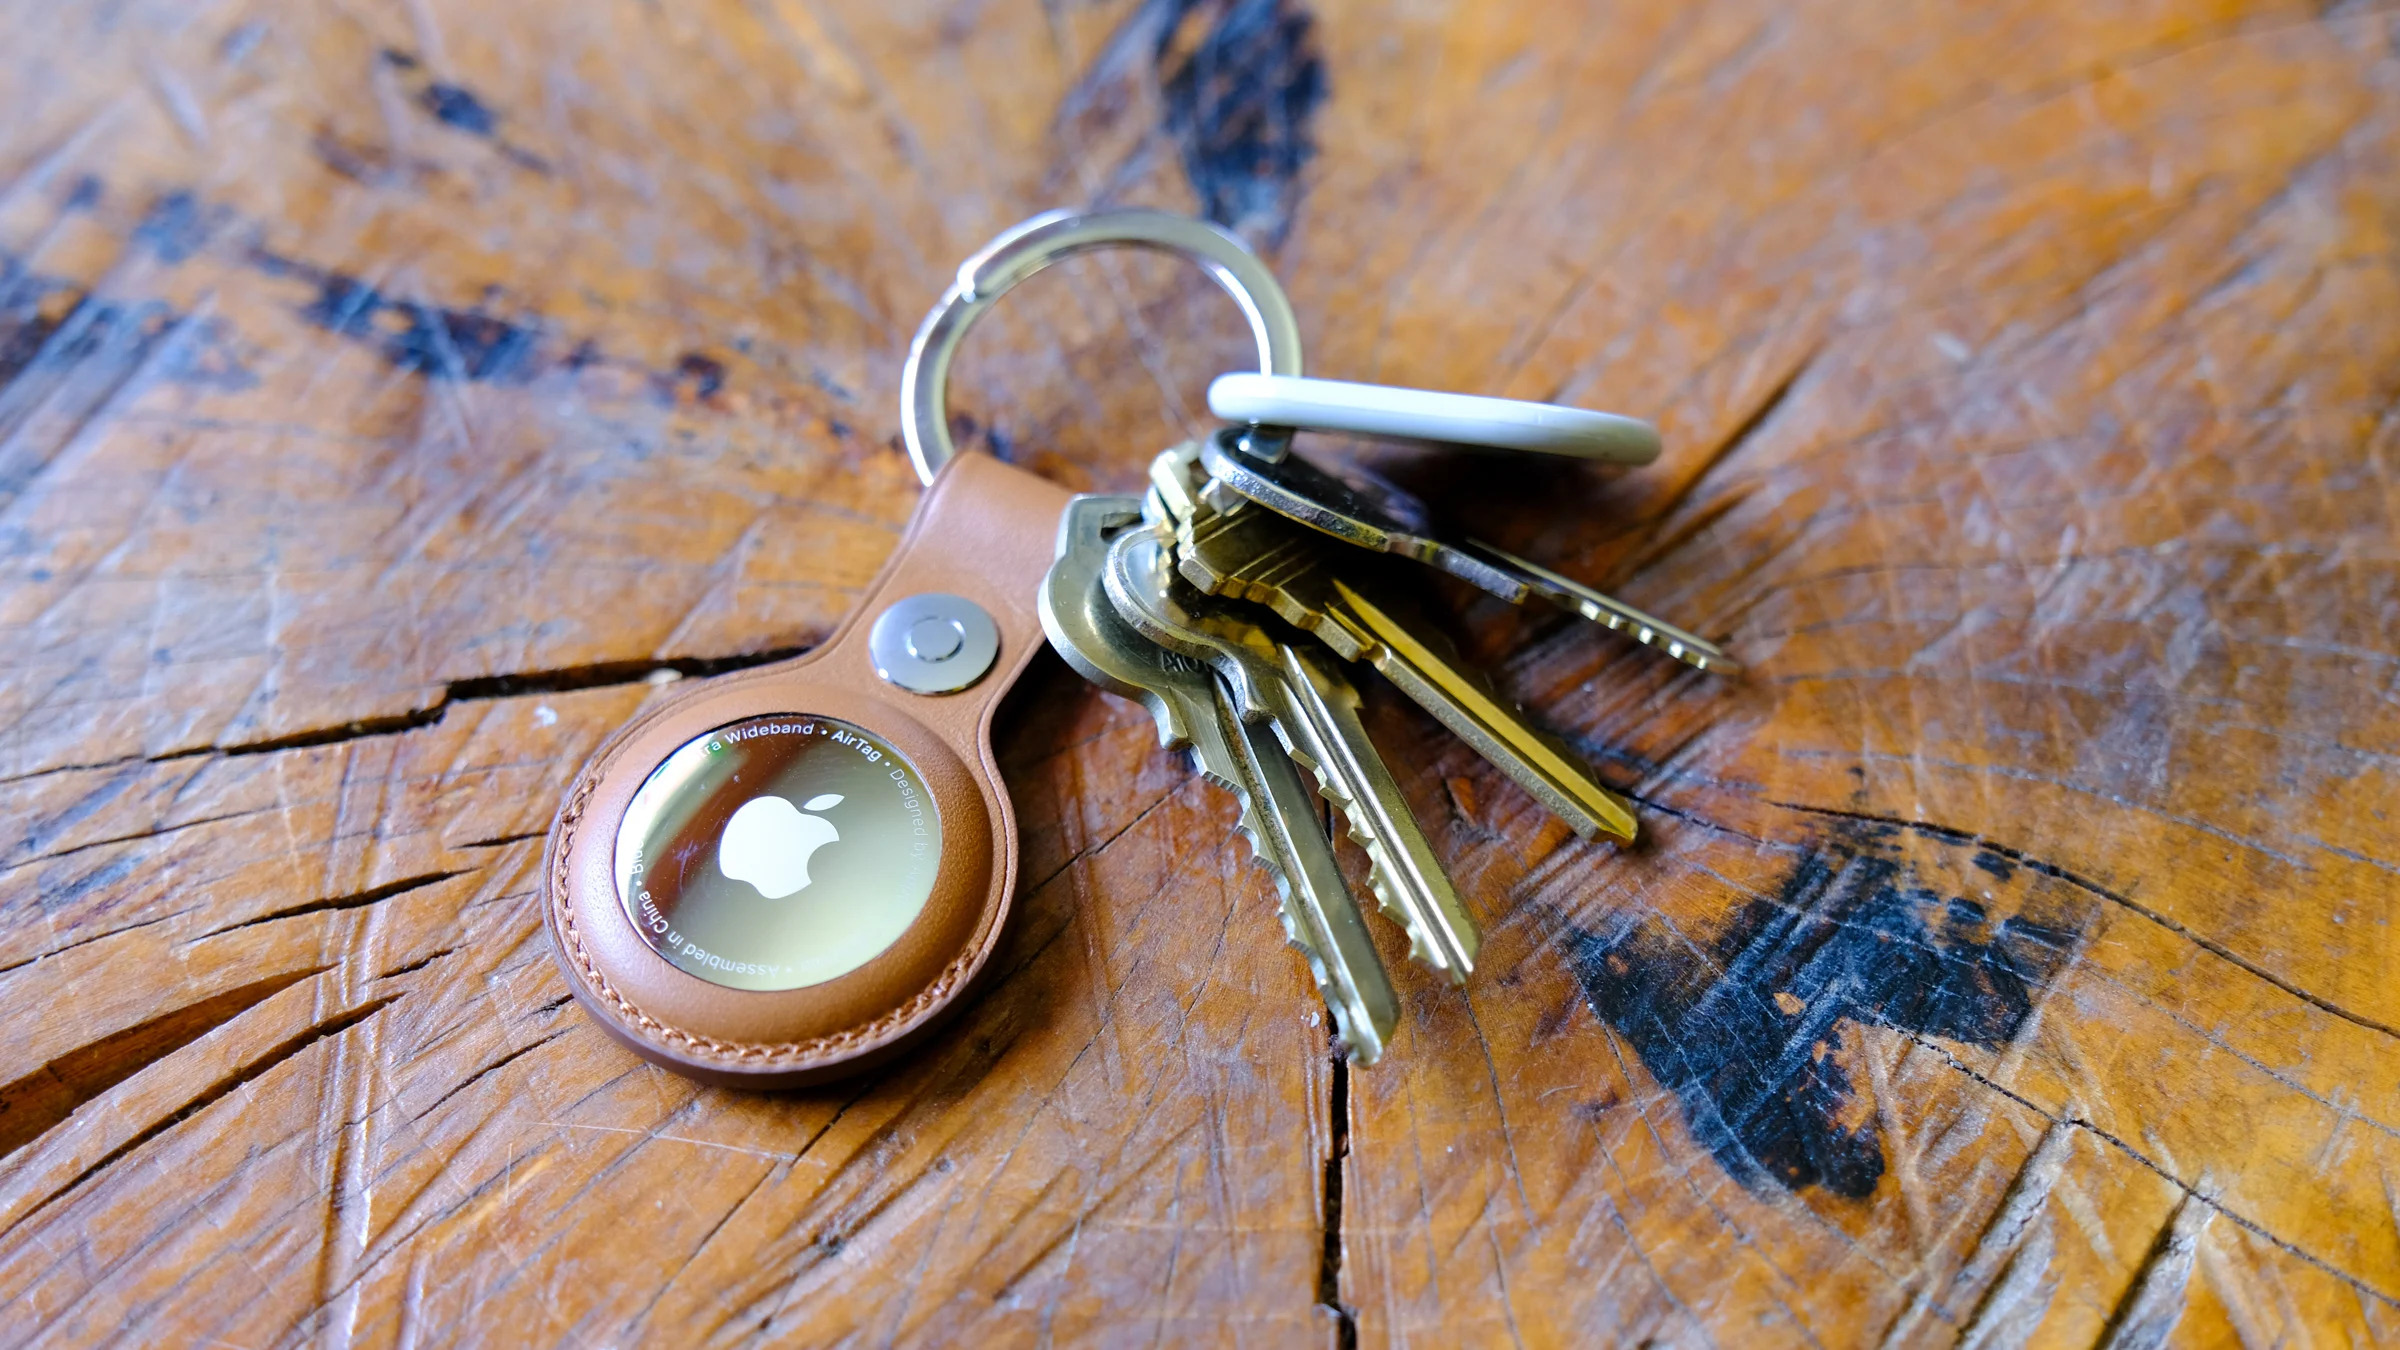
AirTags don’t have built-in clips or adhesive, so you’ll usually need an accessory to attach one securely. Depending on how you plan to use it, that could mean a key ring, luggage tag, wallet insert or bike mount.
If you’re unsure which style works best, Engadget has rounded up the best Apple AirTag accessories, covering options for keys, bags, wallets and more. Choosing the right accessory helps ensure your AirTag stays attached and works the way you expect.
Wrap-up
After setup, your AirTag will automatically update its location using Apple’s Find My network. You can view its last known location, play a sound to help locate it nearby or use Precision Finding on supported iPhones to guide you directly to it. With just a few minutes of setup and a clear label, an AirTag can become a reliable way to keep track of important belongings, whether you’re at home or on the move.
This article originally appeared on Engadget at https://www.engadget.com/computing/accessories/how-to-set-up-an-airtag-120000789.html?src=rss©