 Anmelden
How to change location with a VPN
Chances are that you're here because you've heard a virtual private network (VPN) can change your virtual location, and want to know what that means. If you know already, head over to my best VPN list to learn which services I recommend for changing your location. But if you're clueless, read on.
Whenever any device connects to the internet — whether it's a laptop, a phone or a smart Lego brick — it's assigned a unique IP address that other devices can use to identify it. Think of the name you give the barista at a coffee shop, except instead of a hot beverage, you’re being served websites and digital audio and video.
That's the upside. The downside is that a device's IP address can be used to find its location in the real world. That means service providers can show you local weather reports — as well as targeted local ads. More ominously, however, it means service providers can restrict what you see online based on where you are physically. That impacts everything from the fun (what Netflix has available to stream) to the serious (what information gets censored on the government's behalf).
A VPN gets around that downside by running all your online activity through a middleman server before sending it to its destination. Instead of your real IP address, everyone sees the address of the VPN server, along with its geolocation. That means you can subvert any local restrictions getting in your way: You’re actually in Houston, but so far as the website you’re viewing is concerned, you seem to be coming from Amsterdam. Here's how to do it.
How to change your virtual location with a VPN
With so many excellent commercial VPNs on the market, changing your virtual location is a lot easier than it sounds. You don't need to be a hacker — just find a good VPN app and connect to a server in your desired location. On almost any VPN, this is a simple matter of opening the app or desktop client and choosing the server location from a list.
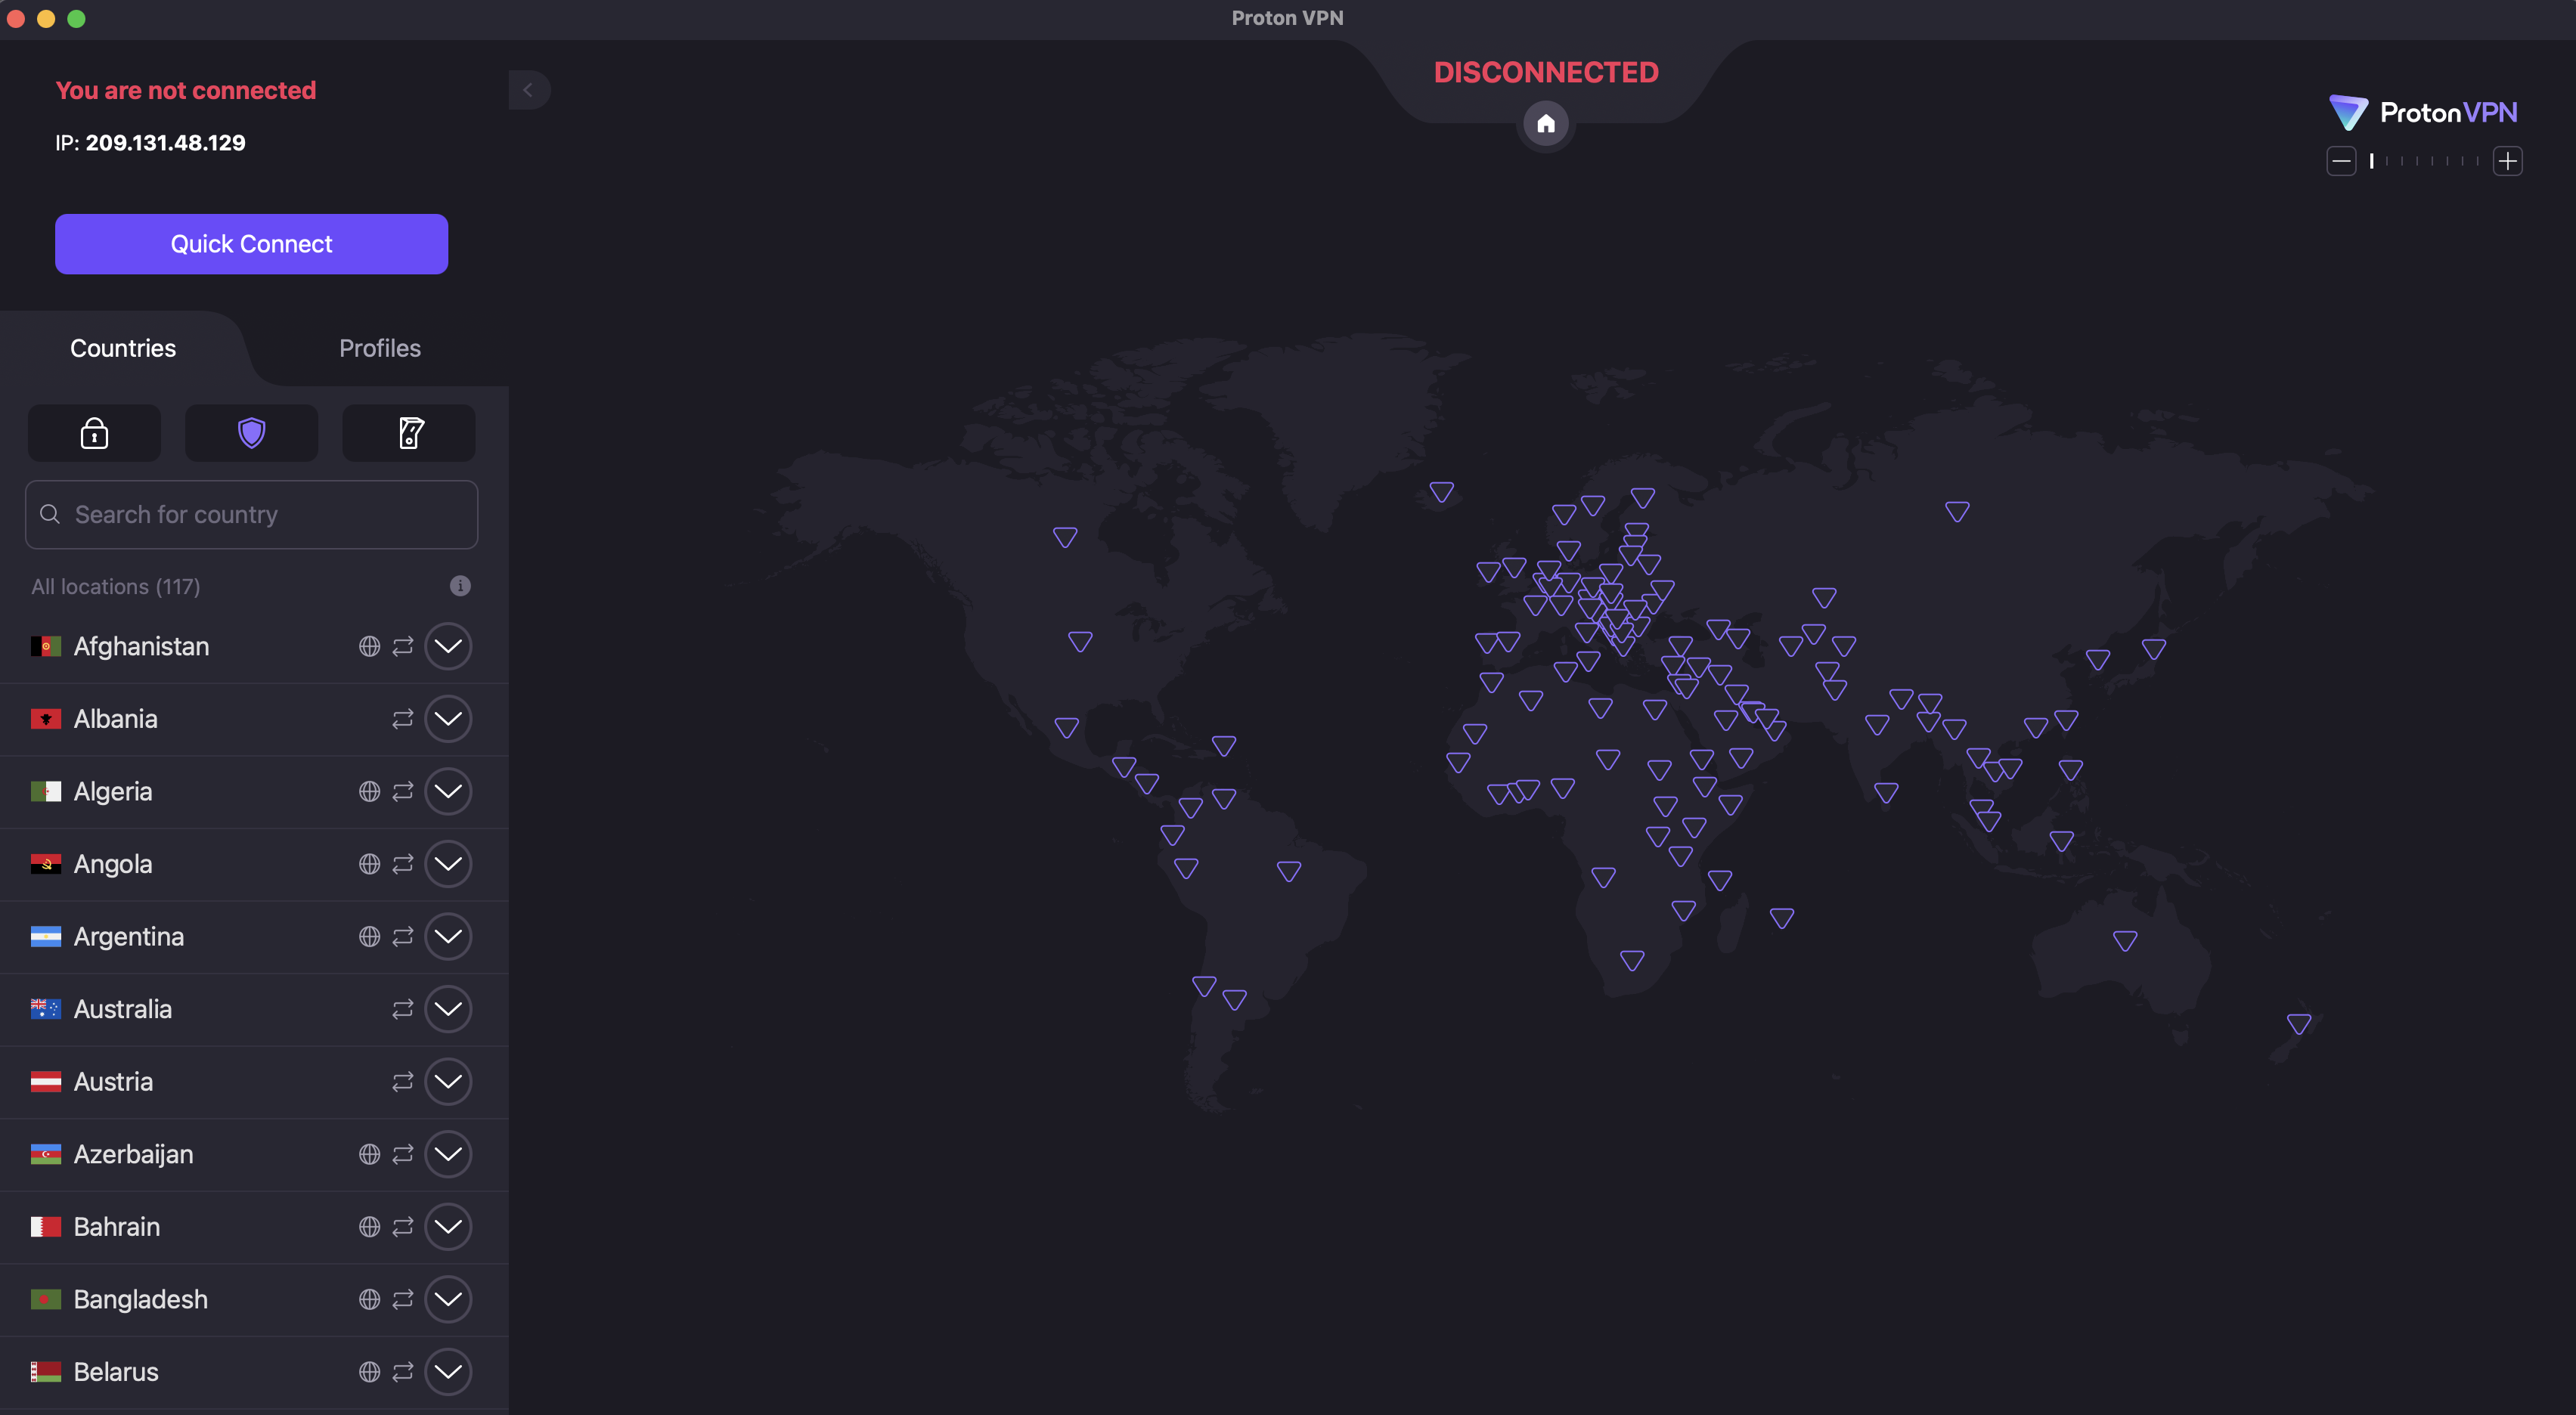
However, as with any technology, there are some potential pitfalls. For reference, I've laid out the steps below for both desktop and mobile devices.
How to change location on Windows or Mac
Use these steps to change the virtual location of any desktop or laptop device running macOS or Windows. There may be slight variations, but in general, this process works for any top VPN.
Select a VPN provider. You can rely on Engadget's best VPN list or, if you're unable to pay for a new subscription right now, our list of the best free VPNs. My personal choice is Proton VPN, but there are other good options. Look for a service with fast speeds, modern encryption and a long, non-controversial record in the industry.
Create an account with the VPN and save your username and password. Unless it's a forever-free service, this is when you'll be asked to pay for a subscription. If you're sure about your provider, you can save a lot by going with a long-term deal. See our list of the best VPN deals for ideas.
Download the VPN app. It's best to go through the VPN's website, even if you're on Mac — in rare cases, the App Store versions can be outdated or short on features. Look for a download center on the site, and make sure you enter it while logged in.
Install the VPN app. Most VPNs have an installation flow built in, so all you have to do is follow the steps. If the VPN asks you to change your settings or grant it permissions, do it; this installs the tools it needs to do its job.
Open the VPN app and find your way around the user interface. At a minimum, make sure you know how to connect, disconnect and open the location selection menu.
Connect to a server in the location where you want your internet connection to appear to originate. If you're trying to get around local restrictions, you can just pick any nearby country without that censorship — for example, if you're in China, then Japan, South Korea or Singapore will work. If you're after content from a specific country, choose a server in that country.
Get online through a browser or connected app as you normally would. To make sure your location has actually changed, use a site like WhatIsMyIPAddress to check where you're coming from.
When you want to use your real location again, disconnect from the VPN or choose a server in the county you're in.
It's not necessary, but I also recommend activating your VPN's kill switch if there is one. VPN servers aren't perfect, and they do drop connections from time to time. If this happens, an active kill switch also cuts off your internet connection so your real location isn't visible for a millisecond.
How to change location on iPhone or Android
The process for using a VPN to change your virtual location on mobile is pretty similar to how it's done on desktop. Again, while individual installation flows have their own quirks, the following steps are broadly applicable to any iOS or Android VPN.
Pick a VPN provider you like. The best VPNs also tend to be the best for mobile, including Proton VPN, ExpressVPN and Surfshark. On mobile, you can use app store reviews and comments to research. Make sure you're getting the real version of your chosen VPN and not a similarly named one trying to piggyback.
Download the VPN from the Apple App Store or Google Play Store. At this point, if you haven't paid yet, you may be able to take advantage of a free trial by opening the app and proceeding through the setup flow. This is a good time to test if the VPN is changing your location in ways that can't be seen through.
Follow the VPN's instructions to create an account, including paying for a subscription if necessary.
Take some time to learn to use the VPN app. Mobile interfaces have to pack more features into a smaller space, usually relying on tabs. Try and find the tabs for picking server locations and toggling VPN settings.
Connect to a server in your desired location. Make sure the VPN is actually active before you proceed (most of them make it pretty clear, but it's still easy to forget).
Get online through a browser or another internet-capable app.
When you're finished, disconnect from the VPN to return to using your real location.
One more note: on both mobile and desktop, I recommend using either a paid VPN or a free VPN supported by a paid subscription. Entirely free VPNs come with risks, and some popular apps secretly share problematic connections.
Why change your virtual location?
Changing your virtual location isn't hard, but it's still an extra step between you and the internet. However, the benefits of location masking far outweigh the small amount of extra work. Hiding your IP address — and your location along with it — is one of the most impactful steps you can take to stay safe online.
Concealing your IP address has massive benefits on its own, even if you use one close to your real location (which gets you shorter loading times). Lots of web services track you without your consent, frequently for advertising purposes. Some of this is done through third-party cookies, but a lot of it starts with building profiles about your IP address.
Illicit actors can also take advantage of your IP address and its geolocation. A hacker can track you down to within your ZIP code — though an IP address can't pinpoint your location to the square foot, it makes it much easier to narrow down where you live. Even with just your IP address, hackers can launch DDoS attacks against you, use the IP to make fake social media accounts in your name or even call in SWAT teams to your location.
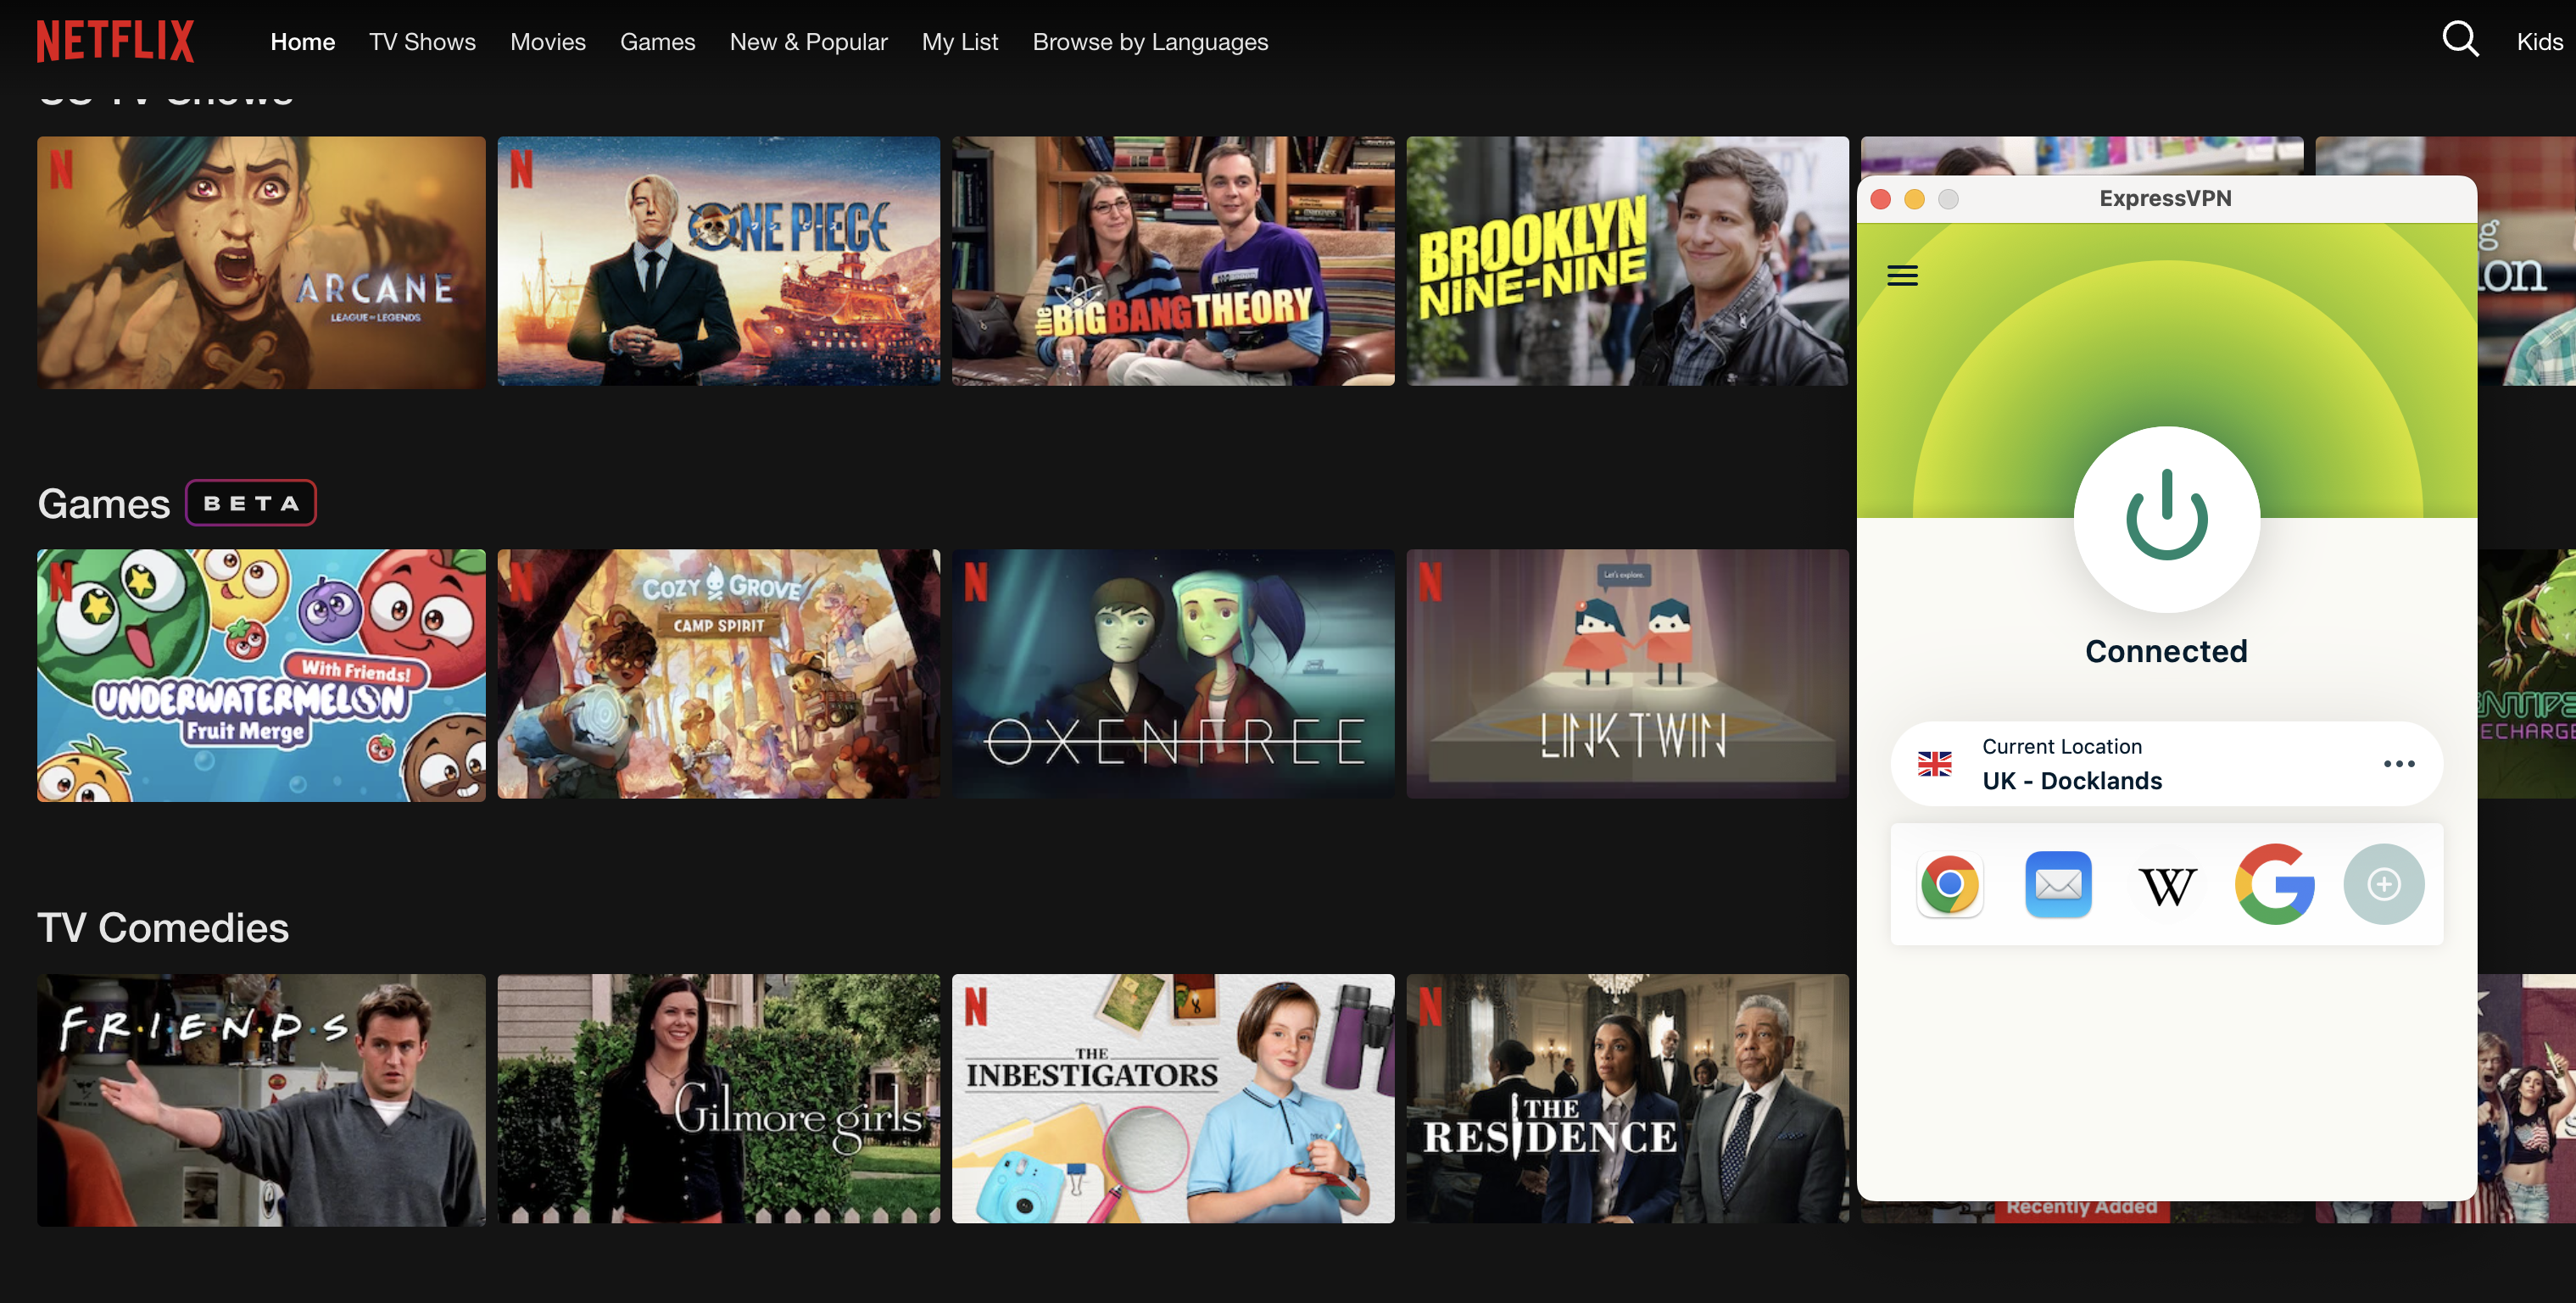
Although masking your virtual location can be vital to staying safe online, there are other practical and even fun reasons to do it. For one thing, when traveling abroad, you might want to use a site only available in your home country. Simply connect to a server located near home and you can use your bank account and local streaming libraries as normal.
If you're home, there are lots of benefits to being virtually in another region. You can see a foreign country's streaming libraries and shop for deals that may only be available in its currency. You can also get around any nationwide online censorship and potentially download banned apps. Just be sure to be aware of your local laws to know if doing so is merely frowned upon, or if it’s truly against the law.
Can a VPN change your GPS location?
There's one more critical point to remember when changing location with a VPN. The VPN server only changes your IP address and the physical location associated with it. It does not change the GPS location your device might be broadcasting.
GPS data can leak out in a few ways. Tablets and phones have location services turned on by default, and as anyone who's heard a true crime podcast knows, they can also give away your location by contacting cell towers. Web browsers often have similar features. Websites can also use HTML5 geolocation to access your GPS — provided you give permission, but that's easy to do without thinking.
Some VPNs, including Surfshark and Windscribe, do have features designed to fool GPS, but they're not standard. When you're changing your location with a VPN, make sure to turn off location services and avoid granting any permissions that might reveal where you really are. You can also run a separate GPS spoofing app alongside your VPN.
How to troubleshoot a VPN that's not changing your location
If you've found that browsers are still seeing your old IP address while you have a VPN active, or that websites show you the same content when you're supposed to be virtually abroad, there's a chance your VPN isn't actually changing your location. To test if your real position is leaking, start by checking your IP address (with a search engine or WhatIsMyIPAddress). If it matches your home location, something has gone wrong.
Note that it's not necessarily a problem if it doesn't match your home location or the stated location of your VPN server. VPNs use virtual server locations to reach a lot of locations where brick-and-mortar servers aren't practical — Windscribe, for example, does not have a physical data center in Antarctica.
If you find that your VPN is leaking your real IP address, try these troubleshooting steps in order. I've arranged them roughly from least to most time-intensive.
Disconnect from your VPN and reconnect to the same location. This should hook you up with a different server in that same place. Test your IP again — there's a good chance the problem was isolated to the first server you tried.
Try a new location (skip this step if you need a server in a particular country).
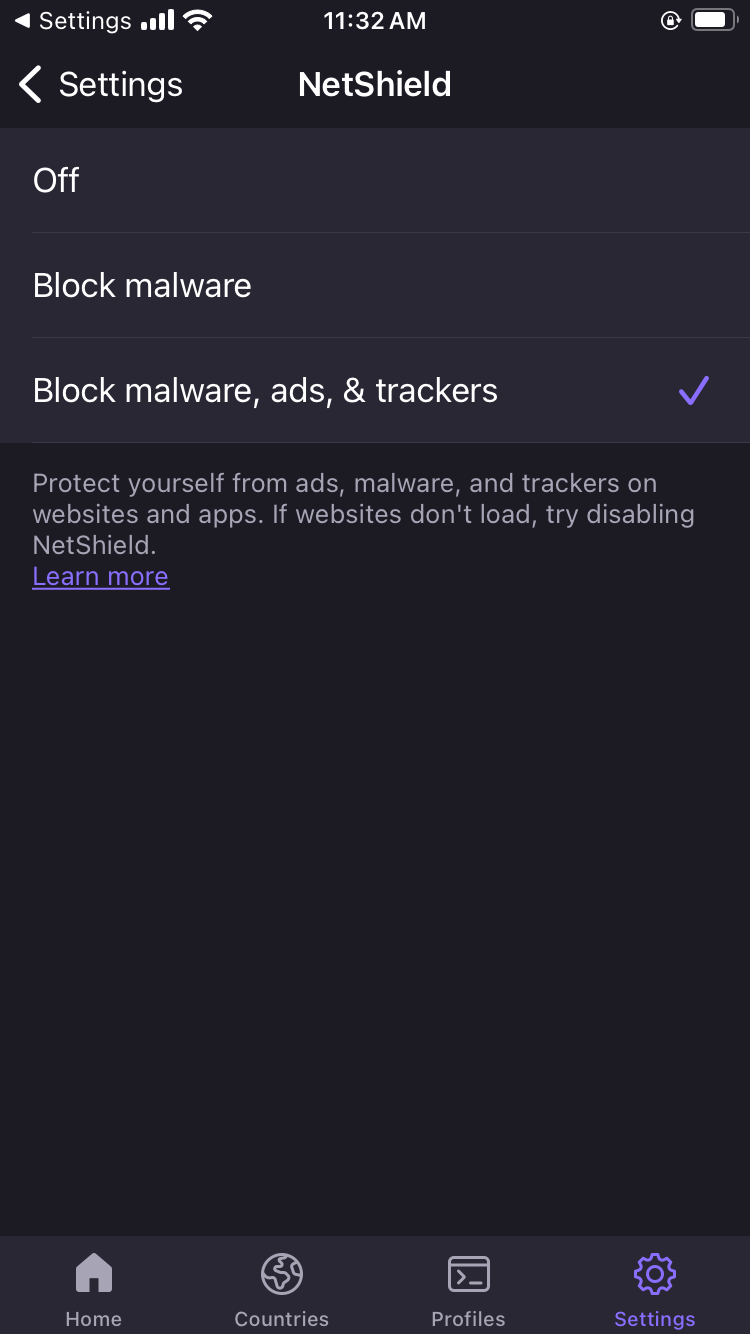
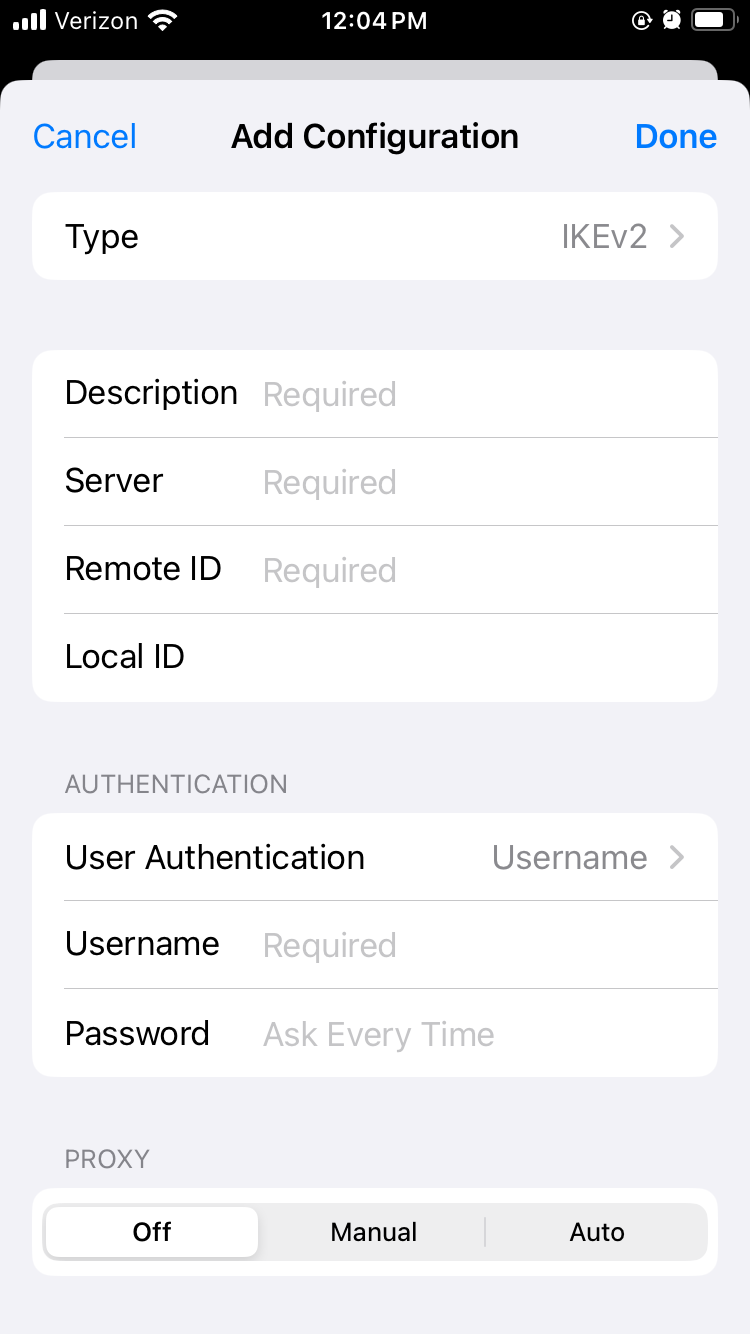
Try a different VPN protocol. If you're using WireGuard, switch to OpenVPN or IKEv2.
Make sure location services are turned off.
Clear your browser cache and cookies to get rid of any saved information.
Test for DNS leaks. Your VPN might accidentally be sending your IP address to a public server to resolve DNS requests. IPleak.org is a good tool for catching this.
Try a different VPN. Use a free service like Proton or Windscribe and test for leaks. If the problem reoccurs, it might be coming from inside your network.
Contact the helpdesk for your original VPN and inform them about the problem. Get screenshots of the VPN connected to the leaky location next to IP address data confirming the leak.
I've already mentioned several VPNs that do a good job of changing your location, but in case you're here for product advice, here are all my recommendations in one place. My favorite VPN is Proton VPN, which is so far the only service to receive full marks on my location-change test. I used 15 of its servers in five different countries to access Netflix. Each time, I saw the destination country's full content library like I was really there.
Surfshark is a close runner-up in this category. It passed 14 out of 15 tests, only slipping up once in Japan — and a quick disconnect and reconnect was enough to fix that. I got equally great results from ExpressVPN, only having to retry one server in the UK. NordVPN performed perfectly in every location except Nigeria, and that still didn't leak my real IP address. The problem only seemed to exist on Netflix.
This article originally appeared on Engadget at https://www.engadget.com/cybersecurity/vpn/how-to-change-location-with-a-vpn-140000339.html?src=rss
©